Light and airy: bright, low-contrast edits, and the catch
Exposure and shadows lifted well up, low contrast, and greens, blues, yellows and pinks turned down, with warm shadows and a faint cool in the highlights. The skin band gets a small lift, so brown skin stays warm instead of going grey.
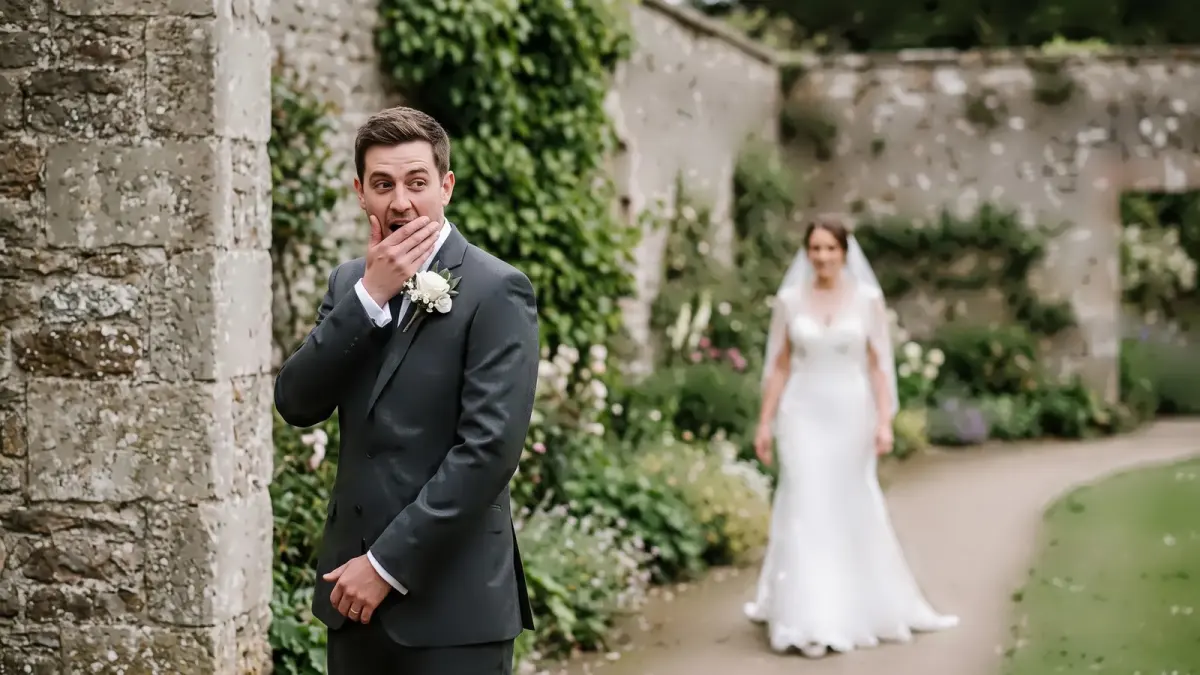
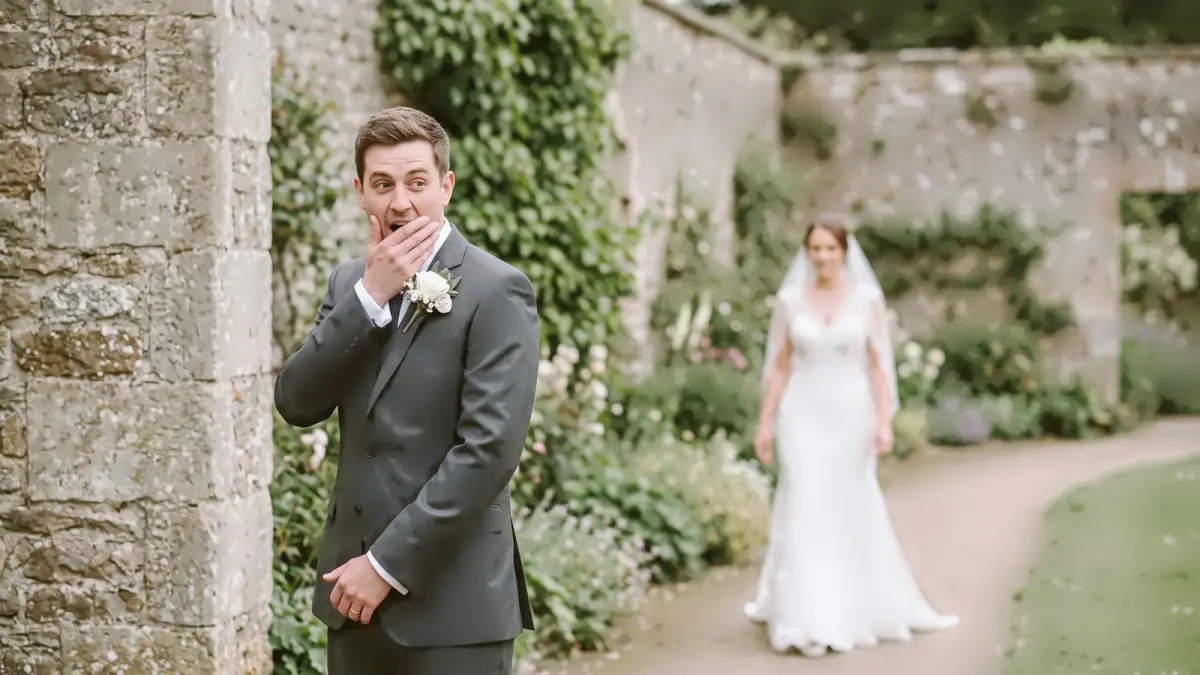 True to cameraLight & airy
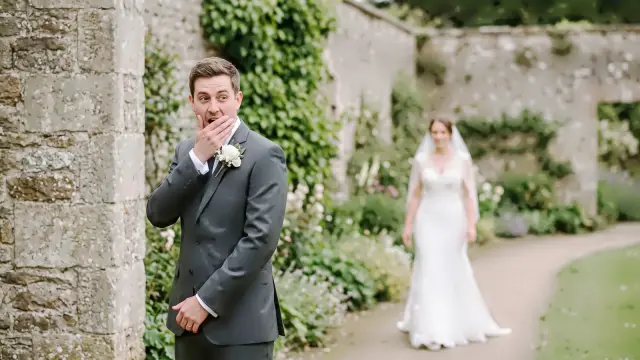
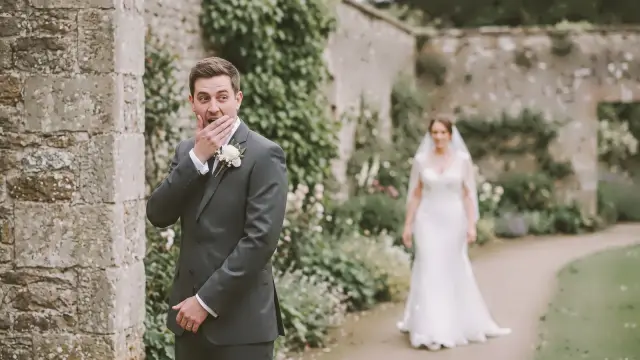
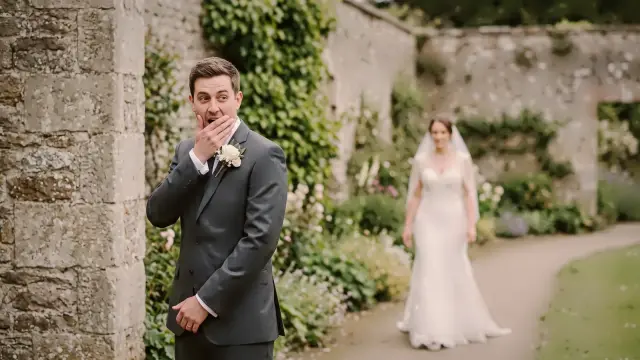
Drag to compare. Left of the line is True to camera, the plainest look; right of it is Light & airy at full strength, rendered from the same file.
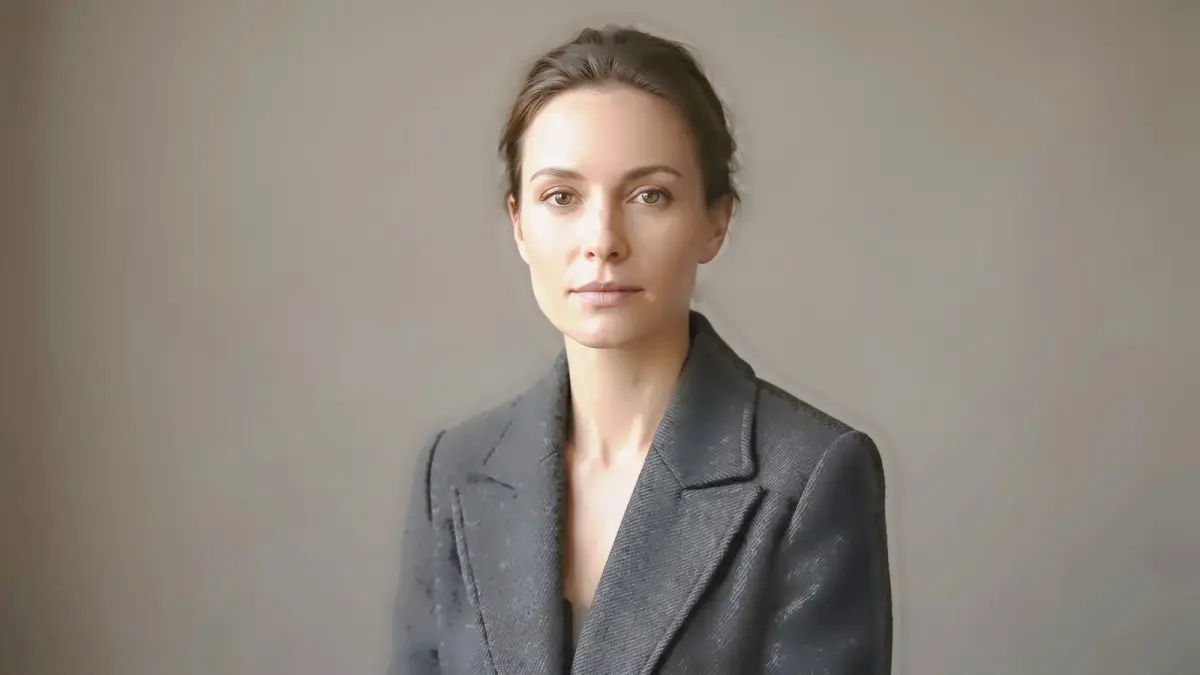
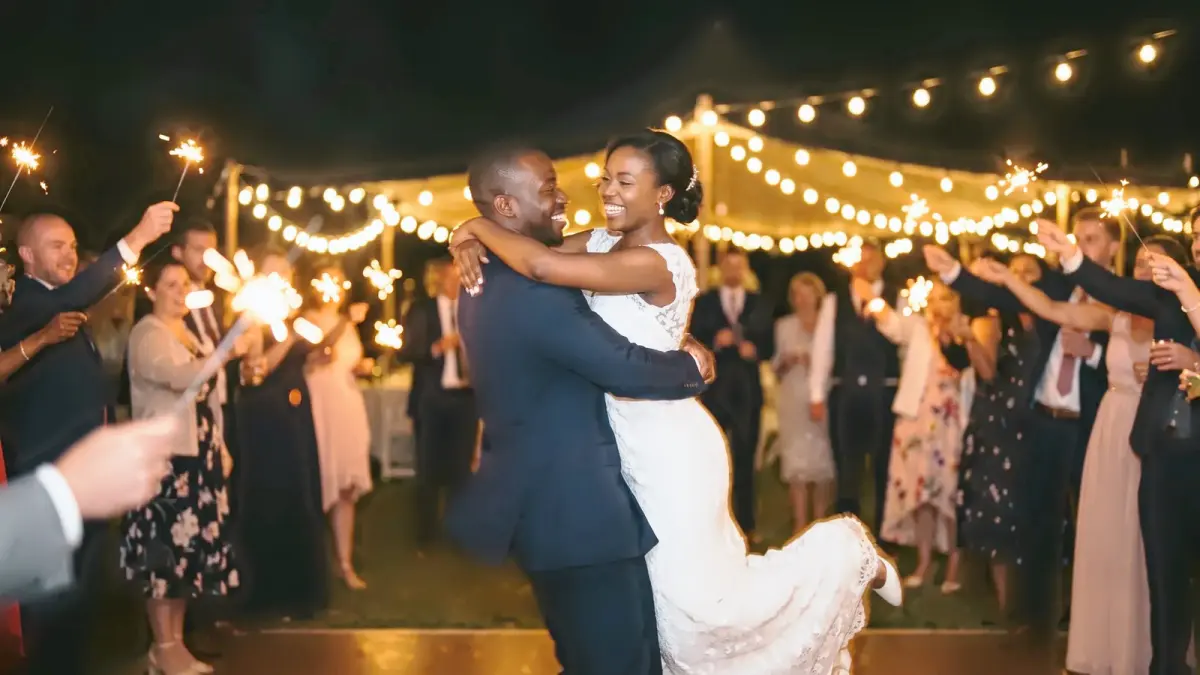
| What it does | Bright exposure, lifted shadows, low contrast, quiet greens, blues and pinks, warm skin |
|---|---|
| Good for | Bright, soft-light sessions with pale decor |
When we'd reach for it
Bright, soft-light sessions with pale decor, where the whole frame is already light.
When we wouldn't
Harsh midday sun and night receptions. Lifting a frame that is already contrasty only flattens it.
The recipe
These are the settings stored in the look, drawn rather than listed. They sit on top of your camera's own colour and the exposure and white balance CullTone sets for each photo, so the same look lands a little differently on every frame.
Every look has a strength from 0 to 1.5. At 0 you get the plain camera-matched edit, at 1 the look as drawn here, and above 1 more of everything it does. More on reading curves in tone curves for photographers.
Close to this one
Try Light & airy on your own photos
Start a trial, create a project and pick this look. The studio shows it on your frames, at any strength, before anything renders.